Monday, June 29, 2015

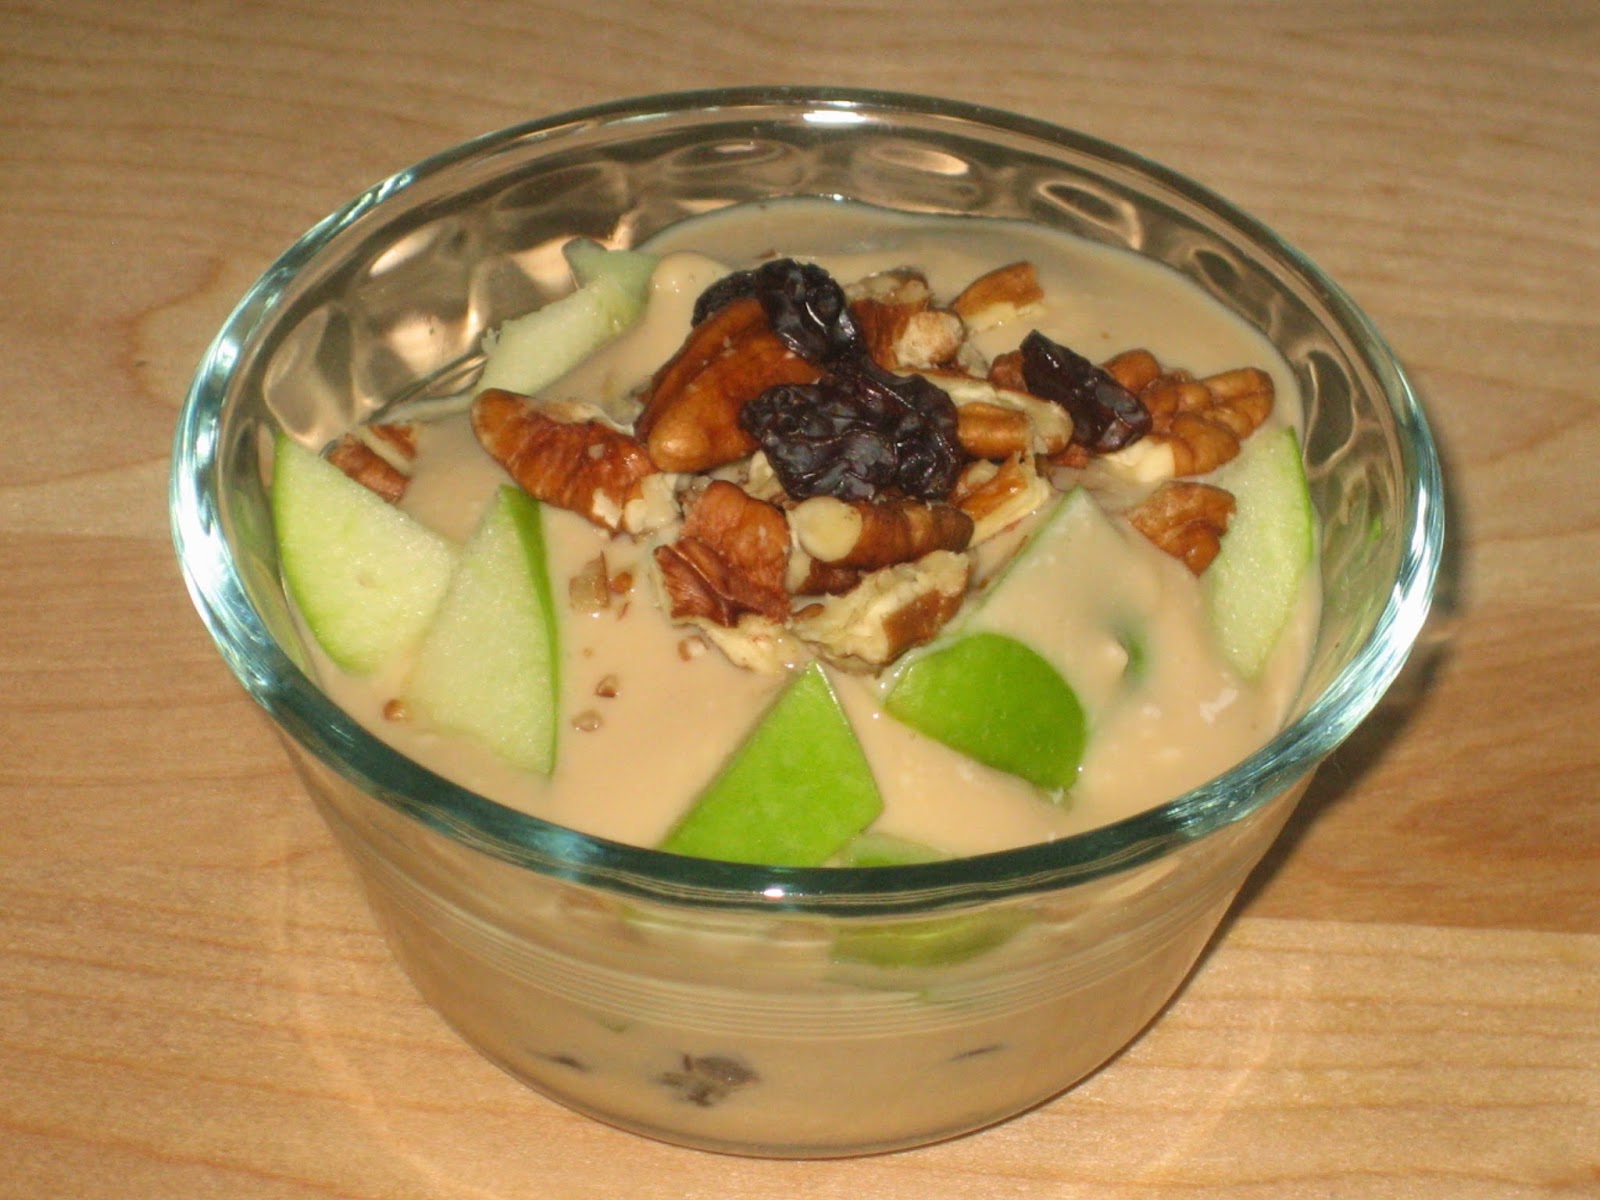
Cool, Creamy, Maple Sunrise Breakfast Bowl

Easy, Cool & Creamy Maple Sunrise Breakfast Bowl
If you're tired of the same 'ole breakfast, and want something different, cool, creamy & summery -
loaded with nutrition & tasty - this is the breakfast for you!

This can be assembled as a Parfait- layered in a tall glass, or as a simple bowl, with all your ingredients piled on. Either way, you have a delightful flavor & texture contrast - cool and creamy with crunchy, sweet, sour & chewy. This is easy enough to grab as you run out the door on a busy morning, and fancy enough to serve at a brunch.

This is made to taste, simply toss in a little of this & a little of that.

Maple Sunrise Breakfast Bowl
Blend in food processor or blender until creamy
1 Package Silken Tofu
Stir in
Maple Flavoring or Extract (about a capful)
Apple Juice Concentrate to desired sweetness (usually about 1/2 cup)*
Layer above creamy mixture in bowl or glass with
Diced Apples
Raisins
Pecans or Walnuts

Serve immediately & enjoy! : )

*I like to make ahead and keep the blended, seasoned tofu mixture in the fridge, that way throwing together breakfast is as easy as dicing an apple & throwing in some nuts & raisins.


This is being shared at
Healthy, Happy, Green & Natural 

Monday, June 22, 2015

2 1/2 Minute Homeschool Lesson Planning

Our 2 1/2 Minute Homeschool Lesson Planner
A while back, my close friend at "Adventures with My Kids" posted about how she schedules her boys' days. She made more than one post on the topic, and her posts inspired me.

I've always been a "teach by the seat of your pants" sort of homeschool Mom. I've taken out a stack of books and taught a lesson from each one till we were done. It worked. And it was easy. But, it had a few flaws:

1) My daughter couldn't see how far she had come and how much she had to go. School seemed eternal till Mom (seemingly arbitrarily) said, "We're done. Say your end of day prayers and you can have privileges."

2) It was totally dependent on me. If I became sick, no one could fill in.

3) My daughter was not learning how to be self-disciplined, and how to teach herself and be motivated in her own learning. While she was young, that was okay, but it's getting to be time to develop that skill!

4) If I walked out of the room, school had to stop.

5) Sometimes I would forget to teach a certain topic or use a certain material for a while.

6) It was easy to finish a LOT of work, but still feel like we had done nothing!

I mulled it over. My friend's system, while perfect for her family of several kids, needed some tweaking for my family. At this point, I only wanted school subjects on my schedule, not all of our chores.  I also wanted to order the day by subject.

A side note: I have NO desire to plan a whole year's worth of lessons. To me, that just doesn't make sense in a homeschool setting. I don't need to mesh with other classes in other years (after all, I am next year's teacher, too!) but I DO need to be able to speed up or slow down our progress through material on a day-by-day basis, according to my daughter's comprehension on that day. An entire year's schedule would not produce the best results for my family. 

So, I mulled it over, and looked for a way to create a system that would work for us. I scoured the shelves of the thrift store till I found it. A jewelry organizer! (similar to this one)


I used 3X5 cards, cut in half. Colored ones for the subjects, then white ones for each assignment within the subject. I make a stack of assignment cards, so I remember which materials to rotate through. For instance, in Math, we have Ray's Arithmetic, Khan Academy, Xtra Math, ICT Games, IXL, a Workbook, various videos, etc. But, we don't do them all on the same day! I put the ones for the day across the math row, and the extras I tuck behind the colored "Math" card. On the back of the assignment card, the last assignment can be crossed out, and the next one written down at the conclusion of that assignment. Or often, a simple bookmark will do.

A close up of a few rows of our schedule


It takes two and a half minutes at the end of the school day to put away today's cards, and select the cards for the next day! (I actually timed it!)

Supplies for making new cards stash easily at the bottom of the organizer


So, now, we both have a clear idea at the beginning of the day of how much work we'll need to accomplish, what that work will be, and a feeling of accomplishment when it is done!

And, added bonus? On the flip side, this great organizer has my Monthly Menu that only took 10 minutes to plan! : )


This is being shared at
Trivium Tuesdays


Monday, June 15, 2015

Couscous Fattoush Salad

Couscous Fattoush Salad
I love the traditional flavors of Fattoush! The combination of fresh, summer vegetables with Mint, Sumac and Lemon is just unbeatable!

Fattoush is traditionally made with Bread, but I decided to merge the Fattoush flavors with a Couscous Salad - and it worked great.

Couscous was a huge food fad before Quinoa became such a hot trend - and I kinda miss it. It's SO easy to work with. You simply take 2 parts boiling water and 1 part Couscous, put them in a bowl and wait 5 minutes. Fluff with a fork, and you're good to go.  It's an INSTANT food that is still a traditional food - originally from Morocco - and quite wholesome : ) EVEN BETTER ? You really don't HAVE to boil the water - it still works with cold water! Just wait about 1/2 hour.

I used Whole Wheat Couscous in this dish, but the White stuff will work just as well - they can be used interchangeably, and the preparation is the same. If you do use the Whole Wheat stuff, make sure you smell it before preparing it. It goes rancid quite easily, and since it doesn't move quickly on store shelves, it is very easy to get a bad batch.

I don't measure for this recipe (except the Couscous & Boiling Water), I simply toss everything in a bowl - so all amounts are approximate.

Couscous Fattoush Salad
Combine in a large bowl, and leave for 5 minutes while you chop veggies (if you use cold water, simply do this step well in advance of serving time)
1 Cup Couscous
2 Cups Boiling Water
Chop Veggies:
1 Large Fresh Tomato
1/2 Large Chopped Cucumber
1 Chopped Scallion (optional)
1 Large Yellow or Orange Bell Pepper (yes, Red is okay here too - it just will not be as pretty!)
Fluff Couscous with a fork, and add the veggies.
Add
1/4 Cup Simply Greek Dressing (see below for substitute)*
1 teaspoon dry Ground Sumac
2 Tablespoons Dry Mint (of course - if you have fresh - use it! : )
Toss & Chill before serving.


* If you're fresh out of Simply Greek Dressing, add 3 Tablespoons Lemon Juice, 2 teaspoons Olive Oil, Generous Garlic Salt & Pepper to taste.


Monday, June 8, 2015

Toaster Waffles (Vegan, Whole Wheat, No Oil)

Toaster Waffles
I have to admit that I've always had a fondness for the "Toaster Waffles" from the grocery store. The taste - and especially the texture - combined with the ease of preparation just draw me in. The only problem? Well, I can eat a whole bag full and still not feel full - and on top of that, I know I've eaten a bunch of processed, refined, less than good-for-me food. And, they're overpriced to boot!

These are the perfect solution. Since these are made with Whole Wheat, they're healthy, and more filling than their commercial counterpart. I can make them when I have the time, cool them, and stack them in a freezer container between waxed paper sheets. Then, whenever I want a toaster waffle, I can pull one of these out and pop it in the toaster oven!

These are Whole Wheat, but since my stuffedveggies Pancake & Waffle mix uses Whole Wheat Pastry Flour, they're not at all heavy : )

Here's how it's done:

Toaster Waffles
Stir Together Dry Ingredients:
1 Cup stuffedveggies Pancake & Waffle Mix
2 Tablespoons Tapioca Starch (Cornstarch or Arrowroot Powder can substitute)
Stir in:
1 Cup Water (approximate, may take a tad more water or more mix to achieve Pancake & Waffle batter texture)

(These are a Non-Sweet Waffle - although there is a bit of sugar in the mix, it's not enough to make these as sweet as the commercial variety. My little girl likes them this way. If you prefer a sweeter taste, don't hesitate to add a bit of your favorite sweetener.)

Prepare according to directions on your Waffle Iron.

Just to be clear: Although I call these "Toaster Waffles," they're delicious fresh, too! Although I do find a more delightful crispy-edged texture after toasting : )

Here are a few tips that work with my Waffle Iron:
I brush the Iron with a little oil from a pastry brush before each waffle is made.
I use a 1/4 cup batter per waffle.
I spread the batter around in the form with the back of a spoon before I close the Iron.
I wait until the light has gone off AND the steaming has almost completely stopped before I open the Iron to remove the waffle.

*The Tapioca Starch helps provide a nice crispy edge to the waffle without the addition of oil to the recipe.

Freezer directions: These are VERY freezer friendly! I let them cool on a wire rack
, and put them in a plastic freezer container with a sheet of waxed paper between each one. When I want Waffles for breakfast, I simply remove the desired number from the box, and heat them in the Toaster Oven. They actually are better after toasting than they are fresh out of the Iron! 


Monday, June 1, 2015

Banana Bread Waffles

Banana Bread Waffles
Well - the name says it all! Banana Bread Waffles. Yummy, Banana-y, delightful.

These are healthy, whole wheat, Vegan, no oil. They're not as sweet as traditional Banana Bread. If that bothers you, you can toss in a little of any favorite sweetener that bakes well (if it is a liquid, like agave or honey, you might want to very slightly reduce the water). But, in our family, we like these just this way.

Banana Bread Waffles
Stir Together
1 Cup stuffedveggies Pancake & Waffle Mix
1 Tablespoon Tapioca Starch*
Then Stir in:
1 Mashed Ripe Banana (1/2 cup mashed Banana)
1 Cup Water

Prepare according to the directions for your waffle maker.

Here are a few tips that work with my Waffle Iron:
I brush the Iron with a little oil from a pastry brush before each waffle is made. A non-stick spray should also work.
I use a 1/4 cup batter per waffle.
I spread the batter around in the form with the back of a spoon before I close the Iron.
I wait until the light has gone off AND the steaming has almost completely stopped before I open the Iron to remove the waffle.


*The Tapioca Starch helps provide a nice crispy edge to the waffle without the addition of oil to the recipe. It can be omitted or cornstarch may be substituted, if you cannot find Tapioca Starch.

Freezer directions: These are VERY freezer friendly! I let them cool on a wire rack, and put them in a plastic freezer container with a sheet of waxed paper between each one. When I want Waffles for breakfast, I simply remove the desired number from the box, and heat them in the Toaster Oven. They actually are better after toasting than they are fresh out of the Iron!