Showing posts with label Artisan Bread in Five Minutes a Day. Show all posts

Friday, January 25, 2013

Simply Vegan Pizza

Vegan Pizza, fresh from the oven.
I love Pizza - it's one of my daughter's favorites, too. We enjoy homemade Pizza whenever we want, for a fraction of the price of the stuff at a Pizza Place- and it tastes much, much better! And, I can get to decide what goes in it - down to the last pinch of salt! Best of all, it's super quick, and FUN to make. My little daughter can even enjoy making her own (all but the oven part).

I don't eat cheese - and I really don't like fake cheese, either (tho I have tried ONE good kind in Europe, unfortunately I don't even know the brand of that one).

So, I just leave it off. And, wonder of wonders - the pizza tastes better than it tasted with cheese!

Vegan Pizza.
Press/Roll out one pound of homemade dough (you may use store bought if you prefer, but this is better and only takes 5 minutes hands on time - I ALWAYS have some in the fridge : )

Put the rolled out dough on your best pizza pan. My favorite is a Perforated, Non-stick model that turns out a perfect crust. (I usually spray it with a little Oil).

Add Sauce from your freezer - thawed, of course. If you prefer, you can use store bought "Pizza Sauce" or make your own Pizza Sauce by stirring together one Jar of Spaghetti Sauce (usually about 3 cups/ 24 ounces) with one can (6 ounces) Tomato Paste - and season to taste if you wish.

Top with your favorite toppings - edge-to-edge so almost no sauce shows. My favorites are sliced black (California) olives, Green Olives, Capers, Chopped Bell Peppers - any color, thinly sliced onion, mushroom, eggplant - you get the idea.

Bake on the Middle shelf of your oven at 450 degrees Fahrenheit, till edges are slightly browned. This takes about 14 to 18 minutes. (If you're baking two at once, which I often do, you can put one on the bottom shelf, and then halfway through baking time, switch the middle one to the bottom shelf, and visa-versa.)

Slide onto another pan to cut (so you don't ruin your best pan), slice and enjoy!

I sometimes like to top a slice - after baking - with a slice of Avocado - the way they sometimes do it in Africa : )

Serve with a Nice Salad and your favorite beverage.

Vegan pizzas are less heavy than Omnivore Pizzas, so each person may like a slice or two more than they would normally eat.


Vegan Pizza just before baking.
Tip for dining with Omnivores: I think you know how to do this one! Add some Mozzarella Cheese, a Sprinkle of Parmesan and your dining companion's favorite meat toppings to his or her pizza. Baking time is the same.


Friday, December 21, 2012

Homemade, Whole Wheat Naan without Dairy or added Oil

This is one of my favorite everyday breads. I like a few things about it: I can make it without using the oven, so in the summer it doesn't heat up the house. I can make it without letting the dough rise, and without preheating the oven. And, it is one of the most appealing ways I know to eat whole wheat bread!

I like to split it open like a pita pocket for sandwiches, and I like to eat it with soup. It's great with peanut butter. As you might suspect, it's great with Indian food. Or just plain. It's an all-round good bread.

I start with a recipe similar to this one (I use the 100% Whole Wheat from the same authors- if you have their book. But, if you don't, this is close enough until you decide to get your own copy ;  ) Easy Artisan Whole Wheat Bread Dough

Then, I follow these directions, with a few tweaks: How to make Naan


My tweaks are: I use a non-stick skillet with NO OIL! And, I use a glass lid so I can watch the Naan Bubble & Brown. It's not an absolute necessity, but it's so much more fun!

AND - my good friend from India tells me that authentic Naan is rolled out pretty thinly - more thinly than I make and and than these pictures depict. If you're going for authentic here, make it thin : )

Of course, if you prefer, you can use the white bread dough by the same authors, and add a little vegan buttery spread to the skillet. It's super-tasty too. And I won't tell ; )

This is being shared on Healthy Vegan Fridays

Wednesday, December 12, 2012

Vegan Holiday Appetizers

This is a wonderful little treat to serve at a dinner or a party. They're easy to make - so easy in fact that my young daughter enjoyed helping me make them. They can be made in advance if you like, to bake right before serving time.

These take a few minutes to assemble - much like cookies - but they're not difficult at all!

I made one batch green olive, one batch caramelized pearl onion, and one batch oil cured olive (warn guests of pits, if you use these!).

Here's the Recipe for one batch (you'll probably want a lot of batches!):

Vegan Holiday Appetizers
1# Bread Dough, rolled out and cut in 40 squares
Filling: 40 olives, or 12oz pearl onions, caramelized
Something for brushing so toppings will stick: Olive brine, oil, or water
Toppings: Zaatar, Sesame Seeds, Poppy Seeds, Thyme & Kosher Salt, etc.
Wrap fillings in dough individually, brush, and top. Bake 450 degrees Fahrenheit, till golden - 25 to 30 minutes (slightly longer if frozen).


First, you make the dough. The dough can be made well in advance of assembly day. And, assembly can be done in advance of baking day. And, yes, you CAN use purchased dough. But this recipe is a lot yummier!

Roll out the Dough (roughly 10"x18"). I like to roll it on parchment paper for easy handling.

Cut Crosswise in 10 strips, then lengthwise in 4 sections.


Place filling (Olive or Caramelized onion) in center of each piece.
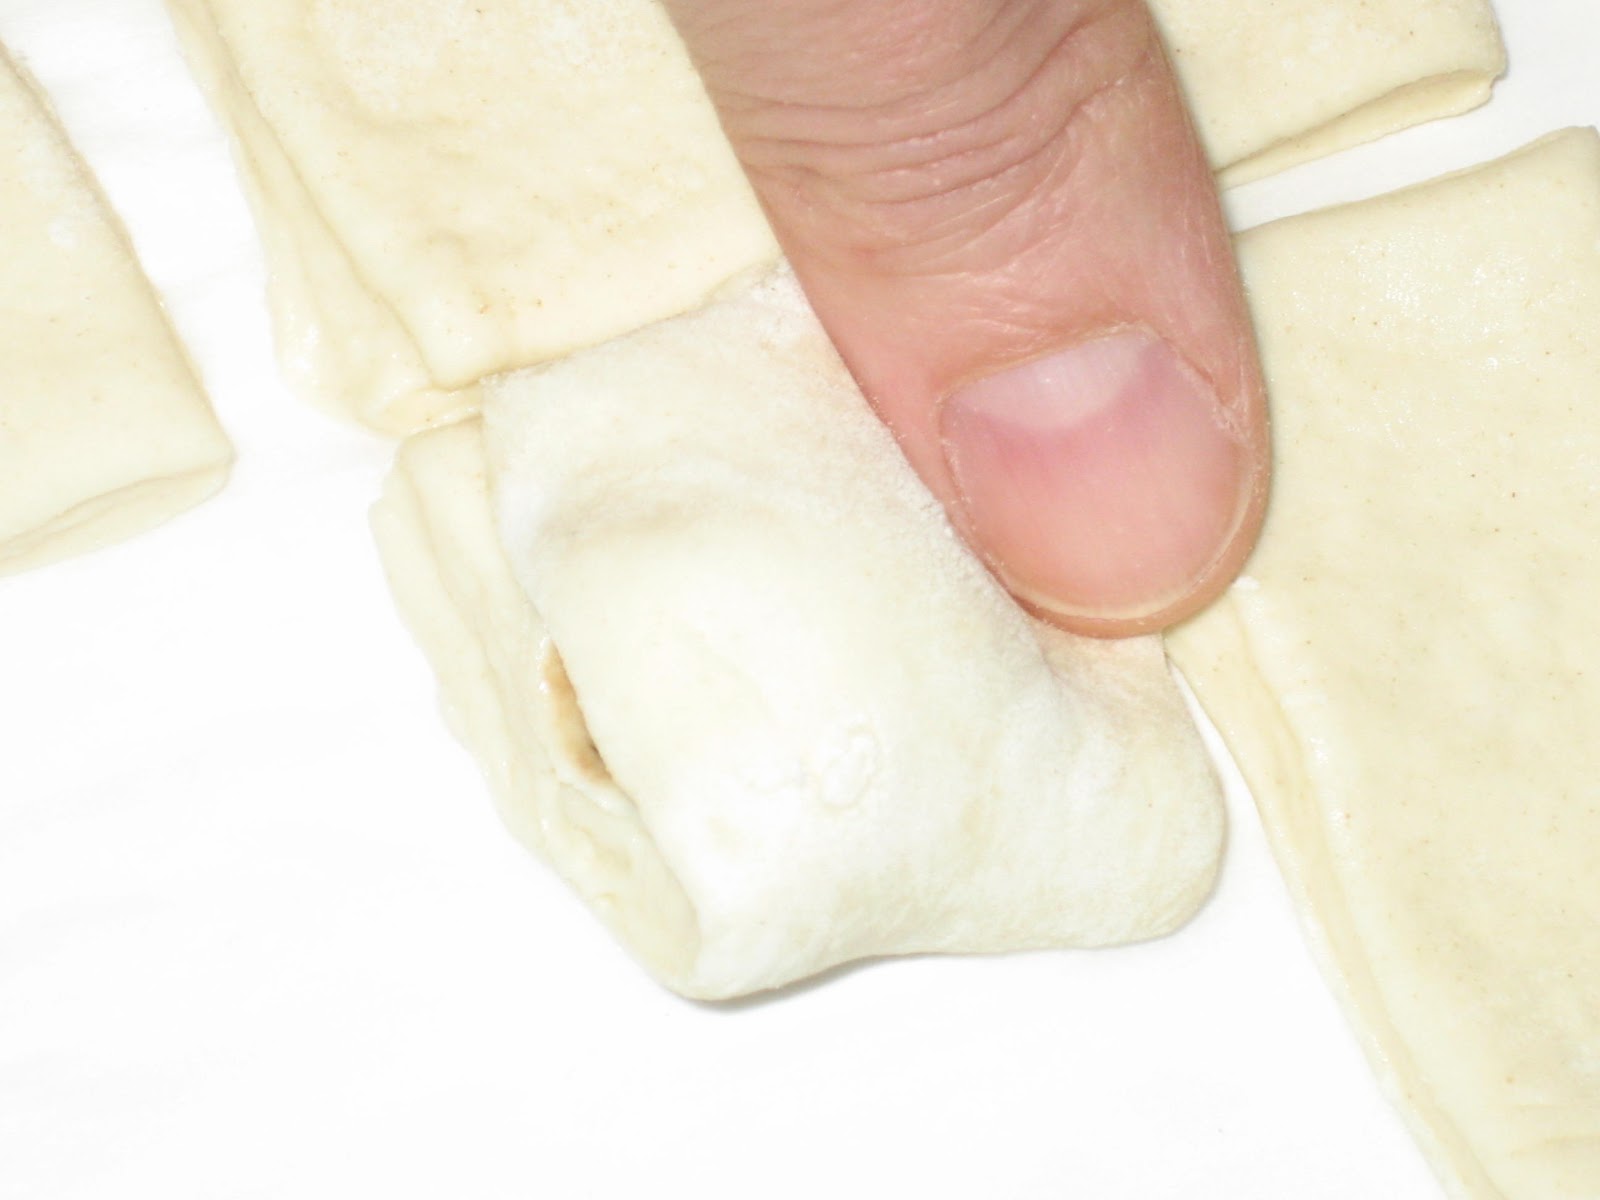
Fold each piece over filling.


Stretch dough around filling, and press edges to seal.


Brush each piece with olive brine, oil or water (your choice), and
Sprinkle with chosen topping. Choose a filling to match a topping, so guests
can see at a glance what they're getting. I used sesame seeds with green olives,
zaatar with oil cured olives, and thyme and salt for onions.
They can be frozen at this point, if you like.


Bake on parchment covered sheet at 450 degrees Fahrenheit for 25 to 30 minutes.
May be baked immediately, or frozen before baking, and baked immediately after pulling from freezer (slightly
longer baking time may be required).

If you want to freeze them, freeze them on the parchment covered pan (as shown above). Once they're frozen solid, they can be popped into a zippered freezer bag for storage until baking day.

This is being shared on Recipes and Ramblings with the Tumbleweed Contessa

Food on Fridays: Finger Foods

Monday, November 12, 2012

Fresh, Homemade Bread - Every Day!

A homemade loaf from my oven, baked by this method
.A few years back, I stumbled upon a GREAT bread cookbook, and a great blog to go with it. Being a frugal person, I checked the book out from the library the first time I used it. It was so amazing that I have since bought SEVERAL copies of it, and I regularly visit the authors' blog.

Really, once you have tried their the method - which they share on their Artisan Bread in Five Minutes a Day website - a few times, you might do what I did - donate your bread machine!

Personally, I'm not sure why other bread-book authors are out there. These guys have done it!

These recipes allow me to have homemade yeast bread on the table at virtually every meal, with almost no work. Boule, Foccacia, Naan, Pita, Pizza - it's all fresh from MY kitchen. And, it costs about 40cents/pound : )

I have control over all the ingredients - nothing yucky in my bread that I don't want there!

And, they have great recipes for Gluten Free Bread & Pizza Crusts, Whole Wheat Bread (I frequently make that one, too) and lots of other yummy stuff. Like Cinnamon Rolls : )

I use a slightly different baking method. The authors of the book & website allow their bread to rise on a board, then transfer it onto a preheated pizza stone. I prefer to use a perforated, non-stick pizza pan for rising & baking - no preheating of the pan is necessary, and there's no risk of a clumsy cook dumping a loaf of dough on the bottom of the oven ; ) Best of all, it still turns out a delicious, artisan loaf.

The perfect container to mix and store the dough? A brand new plastic shoe box from the Dollar Store! 

Check out their blog - and seriously consider buying one or more of their books!

Here's the link to their wonderful recipe & method:

Artisan Bread in Five Minutes a Day 

This is being shared on:
Traffic Jam Weekend